Trending

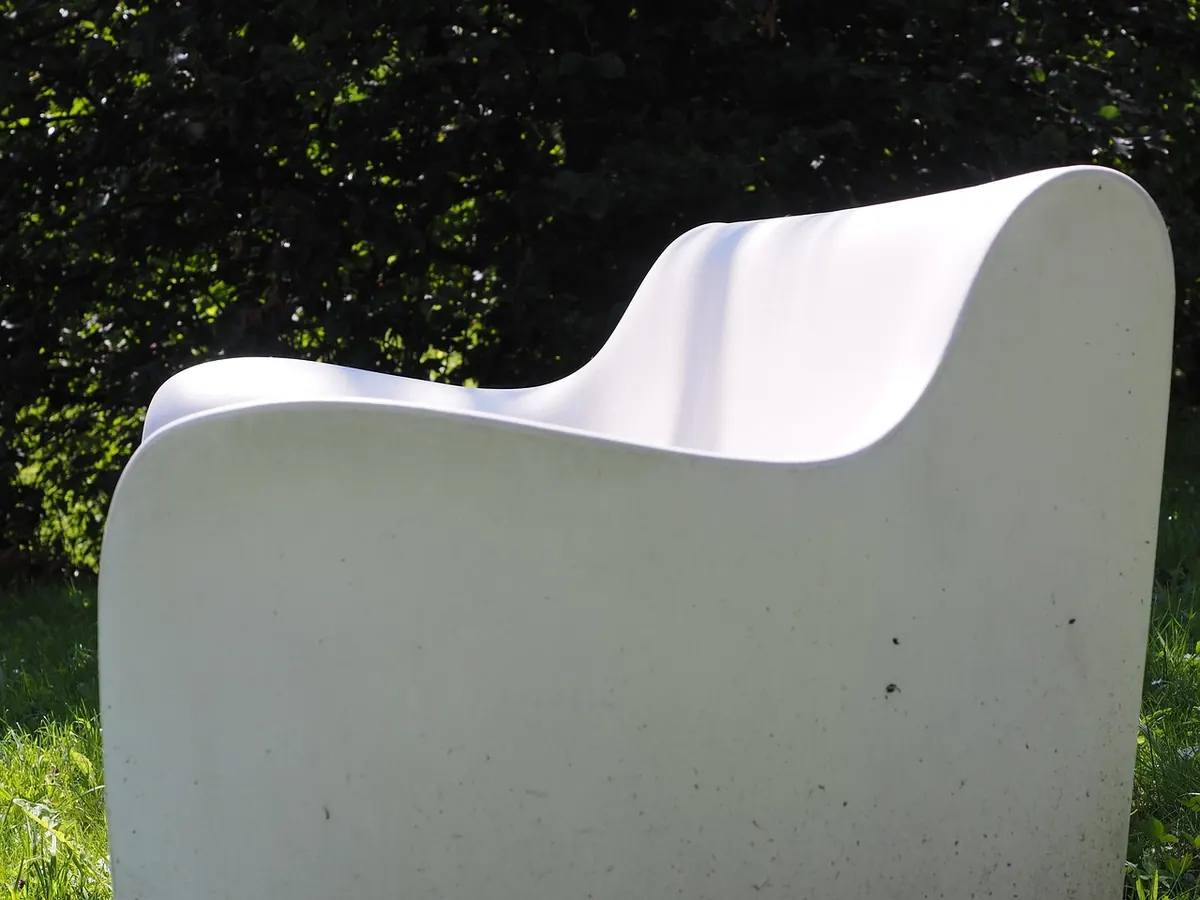
A park bench that wobbles is a bench nobody uses. One wet autumn is often all it takes for a bench set straight onto soft ground to dip at one corner, and from there the whole frame starts working loose. A solid installation comes down to three decisions: where the bench goes, what sits under it, and what holds it down. Get those right and it will stay level for years.
Walk the site after rain if you can, or at least look for the dark, low patches where water lingers. Ground that stays wet through winter will swallow a bench leg, rot the timber and leave the seat tilting. Look up, too: a spot under a tree means sap, leaves and the occasional falling branch landing on the seat and the people sitting on it.
Think about who will use it. Keep the bench clear of a walking route so it doesn't push pedestrians, cyclists or wheelchair users into the road or onto the grass. On a shared path, leave at least 1.5 metres of clear width beside the bench so people can pass comfortably.
If the bench is going on a verge, towpath, village green or school field, find out who owns the land and get permission before you dig. Where the bench will be used by the public, or if you're unsure about anything structural, it's sensible to ask a qualified installer to look at the site first.
Grass looks the kindest and behaves the worst. There are three approaches worth considering, depending on how heavy the bench is and how much traffic it will take.
A light bench in a domestic garden can simply stand on a well-drained lawn, as long as you accept that the grass underneath will die back. Move it a couple of times a year if you'd rather not have two bald patches.
A paved or concrete pad is the tidiest option, and the one that lasts. Set the top level with, or just a fraction below, the surrounding turf.
A pad sitting flush means you can run the mower straight over it. Leaving a 150 mm strip of bare soil around the feet keeps a strimmer away from the legs, which is how most bench finishes get chipped. Press the lifted turf back around the edges and water it in well.
Where a pad isn't practical — an open field, a meadow, a soft verge — use ground anchors, or set the legs into individual concrete footings. Drive-in or screw-in post supports work well with a bench that has base plates on its legs. Bed each hole on compacted hardcore with a little concrete beneath the post so it can't sink, then backfill with a rapid-setting post mix.
Paving laid on a firm bed is the easiest surface of the three, because there's something solid to bolt into. Position the bench so the feet land in the middle of slabs rather than on the joints. Joints are the weakest point of any patio, and a foot resting on one will crack it or work it loose over a winter.
Drill with a masonry bit, starting with a small pilot hole and opening it out to the size your anchor needs. Mark the depth on the bit with tape so you don't go deeper than intended, switch off the hammer action if the slab is brittle, and check for pipes or cables below the surface before you start.
Sleeve anchors and through bolts suit sound slabs over a solid bed. If the paving is thin, laid loose on sand, or the bed looks weak, don't trust the slab alone — put a small concrete pad under the feet and fix into that instead. On older, cracked or crumbly masonry, a resin anchor grips far better than a mechanical one.
Washers under every bolt head spread the load, and bolt caps or dome nuts stop exposed threads catching clothing and scraping shins. If you ever move the bench, fill the holes with a matching mortar.
Loose gravel shifts underfoot, so a bench placed straight on top of it will sink at the front or the back within a season. Setting it down and hoping is not a plan.
The reliable fix is to lift the gravel, prepare a base and put something solid back under the feet. Rake the gravel into a tidy pile well clear of the working area, dig out and compact the sub-base, then cast a concrete pad with its top flush with the finished gravel level. Rake the gravel back around the pad and edge it properly so it doesn't migrate away over time.
A cheaper route for a light bench is two pressure-treated timber bearers laid across the footprint. Even treated timber sits in damp ground eventually, so rest the bearers on compacted hardcore rather than bare soil, and check them for rot each year.
Once the bench is in, test it properly. Sit on it, lean on it, then press down hard on each arm and rock it side to side and front to back. Any movement at all means something needs tightening or the base isn't good enough. Then work through the following:
Retighten bolts a month after installation, then inspect twice a year, ideally in autumn before the worst of the weather and again in spring.
Most bench failures trace back to the ground, not the bench. Take the time to prepare a proper base, fix into something solid with fixings that won't rust, and check the seat for movement before you call the job done. A bench that sits level, stays level and has no sharp surprises waiting for the next person who leans on it is a small piece of public good. Do it once, do it properly, and then enjoy sitting on it yourself.
Photo: Hans / Pixabay